Since it's been so long here's what has happened since the last post:
Gryffin is about ready to graduate to a gold belt in karate, Mike is about to graduate to a green belt. Myself, along with my wonderful friend Mia have opened Peridot, a shop on Cherokee Street dedicated to selling locally made art and craft. Gryffin is half way through kindergarten and loving it. Mike got a new job that doesn't involve getting yelled at all day long. We had our family room, dining room and kitchen remodeled and we are all busier than one armed wall paper hangers.
That about covers it. I hope to post on a more regular basis now that things are kind of, slightly, a little bit slower.
Tuesday, December 07, 2010
Wednesday, July 21, 2010
Canned Pie

I had some local, organic peaches that had to be used soon but I'm not one to sit down and get covered in sticky peach juice. I like the taste, I don't like the mess. So I decided to make some cobbleresque pie. My pies generally have a bottom crust and the top is a mix of oats, brown sugar and butter. I don't really know where I came up with this except to say I'm not real crazy about pie crust.
I've also learned in the past few years that if you can bake it, you can can it. Mason jars are awesome to bake in and if you put the lids and rings on when they are straight out of the oven they seal air tight. Even if a couple don't seal, the jars are freezeable so none have to be wasted. You just have to remember to let them cool completely before putting in the freezer so they don't shatter; however, they are making jars specially made for the freezer that can go straight into the oven. Pretty cool.
I made these in tiny 4 oz jelly jars. What I've noticed is that there is just enough there to make me want more. My next batch will be in 8 oz jars and will be blackberry, maybe even some cherry too.
You can use any pie recipe you like. The only thing to keep in mind is that you don't want to fill it all the way to the top. Things tend to puff a little when baking so I recommend only filling to the bottom of the rings on the jar. This should leave just enough room for the lid to seal after it's baked.
Can't you just imagine come those cold, dreary winter months opening up one of these. Hmm, I think I just figured out Christmas presents for this year!
Wednesday, June 30, 2010
Pre-K Graduation


Wednesday, May 05, 2010
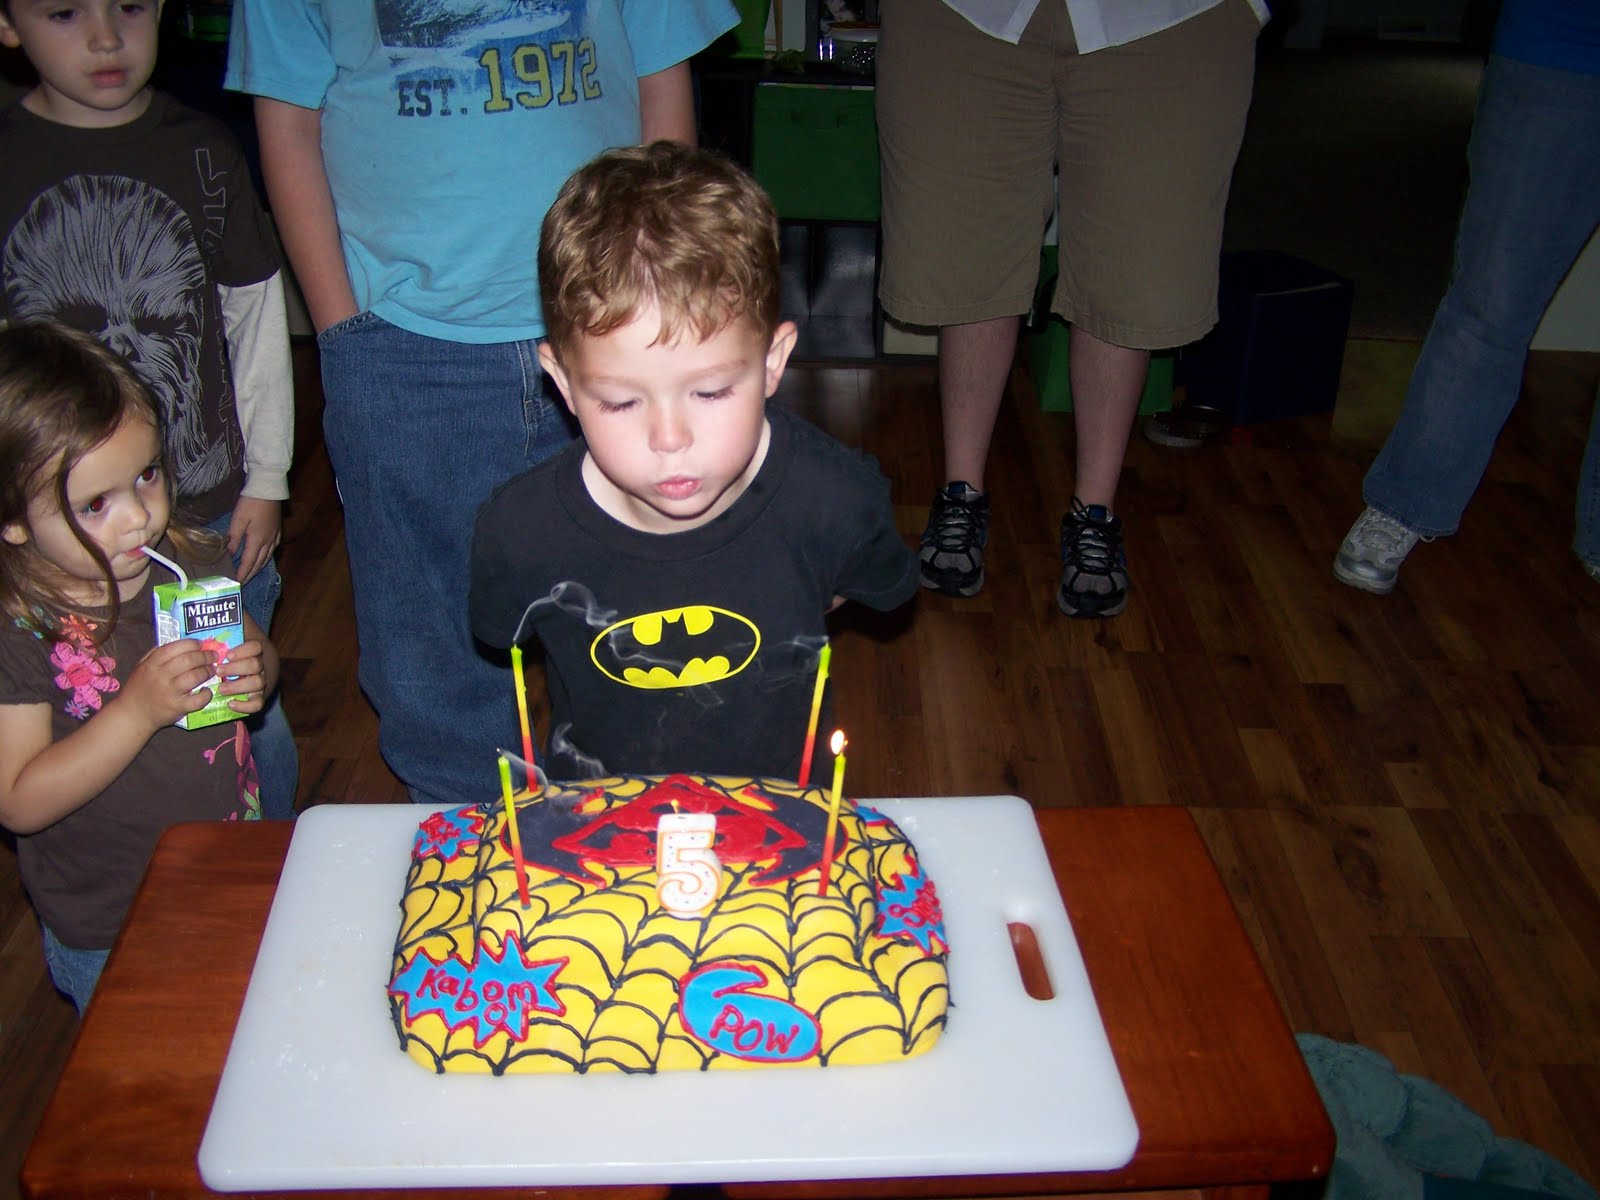
A million birthdays before I sleep...


I made both of these with my two little arthritis filled hands and enjoyed every moment of it. They were a labor of love still fueled by the guilt of a store bought cake on his 2nd birthday. They tasted as good as they looked and my little man loved them.
Peanut Butter & Jelly Cupcakes

Oh yes I did.
I used a basic cake mix for this but added a few unique touches. After allowing the cupcakes to completely cool I filled a long tip squeeze bottle with grape jelly, poked it into the top of each and squeezed a little jelly goodness into the center of each one. Then I made the icing using peanut butter, cream cheese, powdered sugar and a touch of milk.
I know a certain pre-k class that devoured them along with a couple teachers.
Jammin'
There are things in the world that are impossible; levitation, keeping on top of laundry and winning the lottery without buying a ticket. Making jam in an hour... possible! Don't call me crazy like it's an insult, making home made jam in an hour is truly achievable.
Freezer Jam
1 quart strawberries
4 cups sugar
1 pkg Sure Jell pectin
3/4 cups water
Wash, hull and chop strawberries. Using a potato masher, mash the strawberries to release juice but leave some little chunks of fruit too! Let sit for about 10 minutes.
While the berries are resting, bring to a boil the water and pectin. Boil for 1 minute, stirring constantly.
Add the sugar and water to the berries. Stir for 3 minutes until the sugar is dissolved. Then pour into prepared jars. I use the little tiny jam jars since we don't go through a whole lot at once.
I got almost 7 jars out of this recipe, most of which were given away. One of the jars I gave away was to my friend Beqi- she ate it with a spoon and promptly returned the jar when she heard that might mean getting more sooner. Yes folks, it's that good.
Sunday, February 21, 2010

Saturday, February 13, 2010
Penny Popcorn
Gryffin and I love popcorn. Let's face it, it is the perfect snack. It can be salty or sweet and its not that bad for you. Plus, you can eat a ton since it has very few calories. We've been out of those handy dandy little single serving microwave packs with uber amounts of butter for a while. The other day while at Sam's I looked into getting more but that stuff is expensive. That's when I remembered that you can make microwave popcorn in a brown paper lunch sack. I had never tried it before but knew I had a recipe for it somewhere.
www.allrecipes.com to the rescue! If you've never visited this mecca of deliciousness, you should. All of their recipes are rated by the users. I have yet to be led astray and don't attempt anything under 4 stars. This is where I had the popcorn recipe stocked away.
Cook in the microwave at full power for 2 1/2 to 3 minutes, or until you hear pauses of about 2 seconds between pops. Carefully open the bag to avoid steam, and pour into a serving bowl.
www.allrecipes.com to the rescue! If you've never visited this mecca of deliciousness, you should. All of their recipes are rated by the users. I have yet to be led astray and don't attempt anything under 4 stars. This is where I had the popcorn recipe stocked away.
Ingredients
- 1/2 cup unpopped popcorn
- 1 teaspoon vegetable oil (I used canola)
- 1/2 teaspoon salt, or to taste
Directions
In a cup or small bowl, mix together the unpopped popcorn and oil. Pour the coated corn into a brown paper lunch sack, and sprinkle in the salt. Fold the top of the bag over twice to seal in the ingredients.Cook in the microwave at full power for 2 1/2 to 3 minutes, or until you hear pauses of about 2 seconds between pops. Carefully open the bag to avoid steam, and pour into a serving bowl.
Before I poured the fluffy goodness out into a bowl I added a couple pats of real butter and shook it up to melt and coat. It worked beautifully! Real butter popcorn tastes so much better than the fake stuff.
Now there were quite a few unpopped kernels but you get that with any popcorn and there weren't enough to make it non cost effective.
I vow never to buy the gross, cancer causing, synthetic flavored, has to use the word butter in parenthesis stuff again!
Saturday, January 30, 2010
Being sick is no fun, but thankfully we are getting over it pretty quickly.
While not feeling well enough to cook dinner one night I discovered that the Roasted Red Pepper & Tomato Soup makes an awesome spaghetti sauce. I just added garlic powder, basil and oregano, then tossed in some cooked pasta. Now I may have to start making REALLY big batches and freezing it for this purpose as well.
I love double duty recipes!
Monday, January 25, 2010
Roasted Red Pepper & Tomato Soup


This is a super close up that shows the real color of the soup.
1 t olive oil
1 onion, chopped
2 cloves garlic, minced
1 jar roasted red peppers, chopped (I use the Trader Joe's brand, but you could always roast your own)
4 large tomatoes, peeled, seeded and chopped (or a 28 oz can)
1 1/2 t dried thyme
2 t paprika
1 lg can tomato paste
6 cups broth of choice
1 pinch cayenne pepper
1/4 c fat free 1/2 & 1/2 (or you could just use milk too but the 1/2 & 1/2 really makes is creamy)
sour cream for garnish (optional)
In a giganto, mungo pot soften onion and garlic in olive oil. Add in tomato, bell peppers, thyme and paprika. Cook over medium heat until reduced by about 1/2. Stir in tomato paste, broth and cayenne. Let simmer for about 10 minutes. Puree the entire batch, then add the 1/2 & 1/2 and heat through. Serve with sour cream. It's also good with some pepperoni sprinkled in, but we ate it with some Goldfish crackers swimming around.
I want to try it with some other add-in's like: corn, rice, chicken or bacon too.
Try it and let me know what you think!
Oh, to freeze: let cool completely and pour into labeled freezer bags. Lie flat on a baking sheet and freeze solid. This will keep for about 4-6 months.
To reheat: let thaw and either heat through on stove top or in microwave.
Sunday, January 24, 2010
Time to make the doughnuts...
At one of my towns fantabulous thrift shops I found a couple baking pans for doughnuts. Traditionally, doughnuts are fried but since the pans only cost me a quarter for both why not try baked ones. I scoured my usual internet recipe sites and believe it or not, there aren't a whole lot of recipes for baked doughnuts. I did find one that got pretty good reviews though.
Gryffin and I found out that they were as fun to make as they were to eat!
I think next time I will add more cinnamon to the batter and not forget the vanilla. Oops!

2 cups all-purpose flour
3/4 cup white sugar
2 teaspoons baking powder
1/4 teaspoon ground cinnamon
1 teaspoon salt
3/4 cup milk
2 eggs, beaten
1 teaspoon vanilla extract
1 tablespoon shortening
Preheat oven to 325 and spray doughnut pans with non-stick spray. I'm sure a mini muffin pan would work too. In a large bowl mix the dry ingredients and on medium add in the rest. Beat until combined. Pour into pans until they are 3/4 full. Bake for 10-12 minutes or until the top springs back when poked. Let cool about 5 minutes in pan, then remove to a rack. When cooled either spread with icing and sprinkles or whip up a glaze of powdered sugar, milk & vanilla.
I'm going to freeze some so I can find out if they thaw out OK, but I better do this now before they're all gone!
Gryffin and I found out that they were as fun to make as they were to eat!
I think next time I will add more cinnamon to the batter and not forget the vanilla. Oops!

please excuse the Christmas sprinkles, it was all we had.
Baked Doughnuts2 cups all-purpose flour
3/4 cup white sugar
2 teaspoons baking powder
1/4 teaspoon ground cinnamon
1 teaspoon salt
3/4 cup milk
2 eggs, beaten
1 teaspoon vanilla extract
1 tablespoon shortening
Preheat oven to 325 and spray doughnut pans with non-stick spray. I'm sure a mini muffin pan would work too. In a large bowl mix the dry ingredients and on medium add in the rest. Beat until combined. Pour into pans until they are 3/4 full. Bake for 10-12 minutes or until the top springs back when poked. Let cool about 5 minutes in pan, then remove to a rack. When cooled either spread with icing and sprinkles or whip up a glaze of powdered sugar, milk & vanilla.
I'm going to freeze some so I can find out if they thaw out OK, but I better do this now before they're all gone!
Chickens need vacations too.
After a big breakfast of scrambled eggs and a mess of hard boiled ones, we still have 2 dozen in the fridge. Fair Shares usually gives us a couple dozen, if not more, a month. We really don't eat that much.
I used to not be able to eat eggs because they always upset my stomach. Then we got the free range, organic ones from Fair Shares and that problem went away. So why don't we eat them more?
I guess that would be lack of creativity on my part. Scramble, fry, hard boil is about all that comes to mind. I'm going to have to do some research today to find alternatives. I will let you know what I come up with.
Thursday, January 21, 2010
A Dozen A Day
Pie By The Dozen
3/4 jar of Dark Morello Cherries from Trader Joe's
1 refrigerator pie crust
1/2 cup quick cook oats
1/2 cup brown sugar
pinch of salt
1/4 cup flour + 2 Tbsp
1/2 cup sugar
1/2 stick of butter, softened
Non stick cooking spray
and the ancient Chinese secret... a muffin pan!

In a bowl, mix the brown sugar, oats, salt & 1/4 cup flour. Set aside. In another bowl, pour out about 3/4 of the jar of cherries and a few Tbsp of the liquid. (Save the rest to pour in soda, lemonade or better yet, vodka!) Add in the sugar and 2 T flour. Mix and set aside. Liberally spray a regular size muffin pan with non-sticky stuff. Set aside. Unroll the pie crust and using a biscuit cutter cut out 12 circles. Using a rolling pin roll each of these circles into a slightly larger one and fit them into muffin pan. They won't come up all the way on the sides, but that is OK. Now spoon in a layer of cherries but do not overfill! Spoon the oats & sugar mixture over the top. Now dot the tops with the softened butter.
Bake at 375 for 8-10 minutes or until you can see that cherry juice bubbling up and the tops are brown and crunchy.
Let them cool a few minutes in the pan then run a knife around the edge to loosen them. Remove them for the muffin pan and cool on a wire rack.
Eat a few, then hide the rest from your family. This can be done by wrapping each in foil and placing into a large freezer bag. Label as follows: Beets, Brussel Sprouts and Other Yucky Stuff. Put in the freezer.
When your family has gone to sleep, sneak a couple out and microwave for 30 seconds while you pour a glass of milk. Savor, enjoy but don't tell anyone!

Tuesday, January 19, 2010
Chicken Marsala
3 boneless skinless chicken breasts
1 cup dried mushroom slices
1 cup boiling water
1/2 cup flour
2 T olive oil
2 T butter
1 T dried rosemary
3/4 c Marsala wine
Salt & pepper
Act I: The Prep
Scene 1: Split the chicken breasts into cutlets. To do this, lay the breast flat on a cutting board, use the palm of your hand to flatten them. While keeping flat use the knife to slice the top of the breast from the bottom. Kind of like you cut a bagel or a cake in half. Salt and Pepper each side.
Scene 2: Chop the dried mushrooms and rehydrate them by placing them in 1 cup boiling water. Let them sit and wait patiently.
Scene 3: Roll the dried rosemary in your hands to release their oils, then chop.
Place the flour in a shallow dish and add the rosemary.
Act II: Fry Baby
In a large, deep skillet heat the olive oil and butter over medium-high heat. Dredge the chicken breasts in the flour, shake off excess and add to the oil. Wait! Make sure the oil is ready. To do this, drop a little bit of flour into the oil, if it dances the oil is ready. If it just sits there like a wallflower, the oil needs more time. Brown each side. It shouldn't take more than 3-6 minutes. Remove the browned breasts to a plate.
Act III: Gettin' Saucy
Remove the pan from the heat and add the wine. Return the pan to the flame and scrape up all those little bits of stuff stuck to the bottom of the pan. Or you could deglaze the pan with the wine to release the fond. These are the same things, but one sounds a heck of a lot fancier. Bring the wine to a boil, add in the mushrooms along with their water.
Act IV: The Big Finale
Add the chicken back into the pan, cover and let meat and sauce simmer for a few minutes.
I usually serve this over some egg noodles and a green veggie, last night it was broccoli. I would show you the pictures but they didn't turn out very well. I told y'all I am not a food stylist. I will keep trying though.
Now you may be asking yourself why slice the chicken breasts in half, why not just fry them as they are? Wow, that's a really good question! Nice to see you paying attention. First off, money. More servings with less meat equals money in the pantry. Second, time. The thinner the meat, the faster it cooks.
Another question? Ok, why don't I use fresh mushrooms? Geez, you really are paying attention! I go back again to the money factor. Eight ounces of fresh mushrooms run around a dollar. That adds a dollar to every dinner with mushrooms. An entire bag of sliced dried mushrooms from Sam's costs under $8 and will last me at least 6 months. You can do the math if you want, but without breaking out the calculator I can tell you I'm sticking with the dried ones.
Here's another reason, I REFUSE to use condensed cream of mushyroom (not a typo) soup in a recipe. One cup of the rehydrated mushrooms along with their water and one cup milk simmered until thick makes cream of mushroom soup! Again, buck a can versus a few coins and a few minutes. Hmmm, need a calculator?
So there you have it. I like food, I like to cook and I'm cheap. Don't get me wrong, I have faults. I just keep forgetting what they are. ;)
Monday, January 18, 2010
So last night we indeed had pizza. It was quick and none of us were really that hungry. Even if I hadn't had a spare crust already in the fridge it would've still only taken less time than having it delivered.
No Knead For Delivery Pizza Crust
3 cups flour (I use bread flour but AP works well too)
2 1/4 tsp rapid rise yeast (or 1 envelope)
3/4 tsp salt
2 Tbsp olive oil
3/4-1 cup warm water
Preheat oven and pizza stone to 400. With the blade in your food processor, add the dry ingredients and combine for 10-15 seconds. With the machine on, add the olive oil and slowly add just enough water to make the dough come together into a ball. Remove dough onto a lightly floured surface, cover and let rise for 10 minutes. Cut dough in half for 2 large or thirds for medium. Roll out, prick crust with a fork and slide onto hot pizza stone. Bake for 8 minutes.
I usually par-bake all my crusts first so they can go into the oven one after the other or I can just freeze the plain crust for use another day. After the par-bake, load up the crust with the good stuff: sauce (I use spaghetti sauce, cheese, meat, veggies, more cheese (of course!). Then place back on pizza stone until the cheese is bubbly and the crust is GBD (golden, brown, delicious). In my oven, this only takes about 8-10 minutes depending on how loaded the pizza is. The more toppings, the more time.
When I freeze my crusts, I wrap them in a couple layers of foil before sliding them in a freezer bag. The dough itself can be frozen as well. Just thaw in fridge overnight, let come to room temp and bake as directed above.
Tonight is Chicken Marsala... I'll try to go all food stylist and take pictures. But y'all know how good I am at that.
Sunday, January 17, 2010
Yeah, yeah, yeah, don't give me a hard time for not posting lately; after all, I only have1 follower. Things have been wicked crazy. Holidays, school breaks, health insurance changes, you name it we've dealt with it. Things are slowly returning to as normal as normal can be with this family.
Mike's place of employment changed their pay schedule. We went from twice a month to every other Friday. Doesn't sound too bad until you realize that all of our bills are set to be paid automatically through our credit union on the 1st & 15th which does not correlate with every other Friday AT ALL! This is going to take some serious adjusting but at least there's still money regularly coming in.
The first adjustment is of course the budget itself. As y'all know I follow the envelope theory. I put cash into envelopes labeled with their expense (Fun $, Groceries, Household, etc.). This makes me think about my purchases because when the cash is gone, it's gone. I need to come up with a better envelope system/holder because the one I have now is falling apart. This is where my sewing hero powers come in. I'm working on a design and will post pics when it's done.
The most difference has been felt in our fun and grocery budgets. I really need to get creative with the food money, people. This week will be henceforth named "Pantry Raid Week". With the exception of Fair Shares (our already paid for Farmer's Coop), milk and a few fruits and veggies, not to equal more than $15, all of our meals will come from what is in our pantry, fridge and two freezers. Like communism, this looks good on paper. In reality, it is very daunting.
We have already been doing this the past couple of days with pizza night and the shredded chicken taco's Mike made last night. Tonight; however, I haven't a clue of what I will make. I could use the leftover shredded chicken mixed with salsa to do a chicken chili. I could use the leftover pizza crust to make a uhmm, well... pizza. Or I could be all crazy and make something new. Possibly Chicken Marsala or Tuna Casserole. I guess all this thinking means that I need to come up with a menu for this week.
Let's see:
Sunday/ Kiel Basa, red potatoes and green beans
Monday/ Chicken Marsala over egg noodles with broccoli
Tuesday/ Pork chops, mashed potatoes and corn
Wednesday/Beef Stew with biscuits
Thursday/ Jambalaya
Friday/ Pizza Night
Saturday/ Roast chicken with veggies
Believe it or not, I have ALL the fixings for these already in the house, with the exception of an onion or two.
I'm really going to try and be better about blogging again so I will try and post recipes this week too.
Subscribe to:
Posts (Atom)